Build you own Five dollar Web-Server!
By Nima Naserzadeh
Legal Disclaimer
This project is strictly for educational purposes. We do not offer any email or phone support for the setup, operation, and or administration of any DIY system. You do this solely at your own risk. We do not guarantee any specific performance.
Using the Mobilize My Business Server setup script you can easily turn your Raspberry Pi into a fully operational web-server using the same powerful and freely available software that the major hosting companies use.
The common server setup for web applications is usually called a LAMP server by many people in the hosting industry. This stands for: Linux, Apache, MySQL, and PHP. These are the four elements needed for hosting the most common web applications.
If you follow this guide step by step, you too will be on your way to becoming a true webmaster, and if you ever get a job providing tech support, you wont be stuck in a call center not being able to help a customer.
Note:
This script will install MariaDB in place of MySQL. In recent years many people have steered clear of MySQL after Sun Microsystems, the company maintaining the software, were acquire by Oracle. Users and contributors who were not happy forked ways and created MariaDB
Why would you host your own site?
By running your very own web-server, you will gain some of the darkest knowledge behind what makes the internet tick. This will allow you to gain elite system administration skills that are simply not taught in any classroom.
You really should not host a website on a Raspberry Pi Zero. Not for serious business anyway, unless you have at least two different connections to the internet, and a back up power source to keep your little Pi Zero powered 24/7.
The Raspberry Pi Zero defiantly does not have enough power to be more than a proof of concept. It certainly won’t handle a very high load. If you want to keep this as a permanent little web server for your website, a better option would be a Raspberry Pi 3 or even better yet a Raspberry Pi 4.
What you need
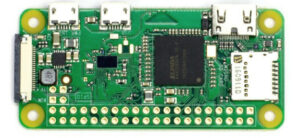
- RaspBerry Pi Zero or better 5 to 15 dollars depending on retailer.
- A 32 GB or larger SD Card
- An old USB charger
- Case or something to keep the Raspberry Pi safe and from shorting
- A website domain name we will be purchasing for 9.99$
- A Free cloud flair account
- A WiFi Connection to the internet supporting the 2.4Ghz Band (Most homes)
Step 1
Get your domain name
Go to https://mobilizemybusiness.com and purchase a domain name. You do not need any hosting, security, or anything like that.
Just buy a simple 9.99 a year domain name. It does not matter if it is .com .net .org whatever your heart desires. After you check out and get your receipt, do not go through any set up process to use your new domain. Simply close your browser for now and move on to the next step.
Note
It is usually a good idea to pay a couple of dollars extra for privacy if you don’t want your name used on spam call lists. When you purchase privacy your private details as the domain owner are hidden from the public.
Secure your Raspberry Pi to the case
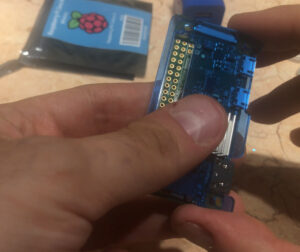
If you don’t have an enclosure. Make sure you insulate the Raspberry Pi with something non-conductive like cardboard.
Getting the Software on the SD Card
A. Download and install Balena Etcher from: https://www.balena.io/etcher/ .
B. Download Raspbian Light from: https://downloads.raspberrypi.org/raspbian_latest
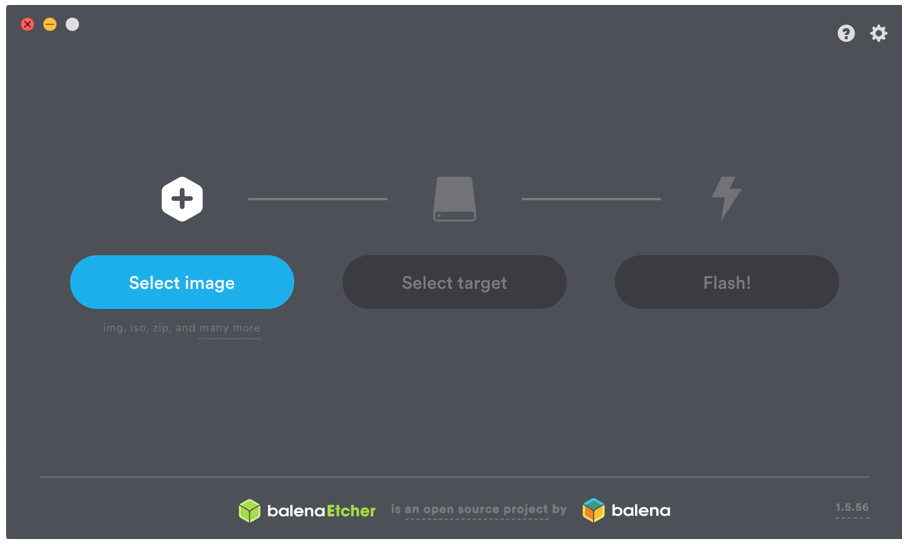
C. Plug in your SD Card in in the card reader and open Balena Etcher. Click select image and select the zip file that contains Raspbian Light. (The one we downloaded in part B.) Click on select source and select the SD Card to use. Clicking on flash begins writing the image on to the SD card.
D. Place the SD Card into the RaspBerry Pi card slot
Connect the Raspberry Pi
Log into your Raspberry Pi
Type in ip addr
This command will give you your 16 digit mac and assigned IP address.
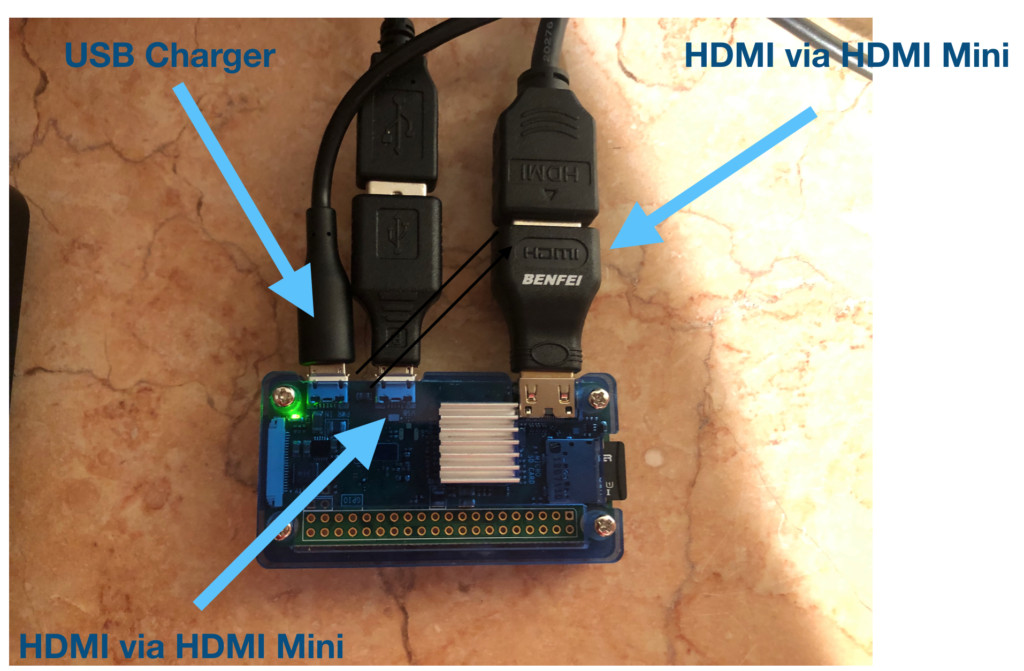

Once you see what address your device has been assigned, then we have to log in to our router’s configuration page and make it permanent. This is so that the next time you restart the PI, the internal IP address does not change.
Every router is different. Refer to your Router’s manual, support, portforward.com, and or even the community forums.
Setup port forwarding
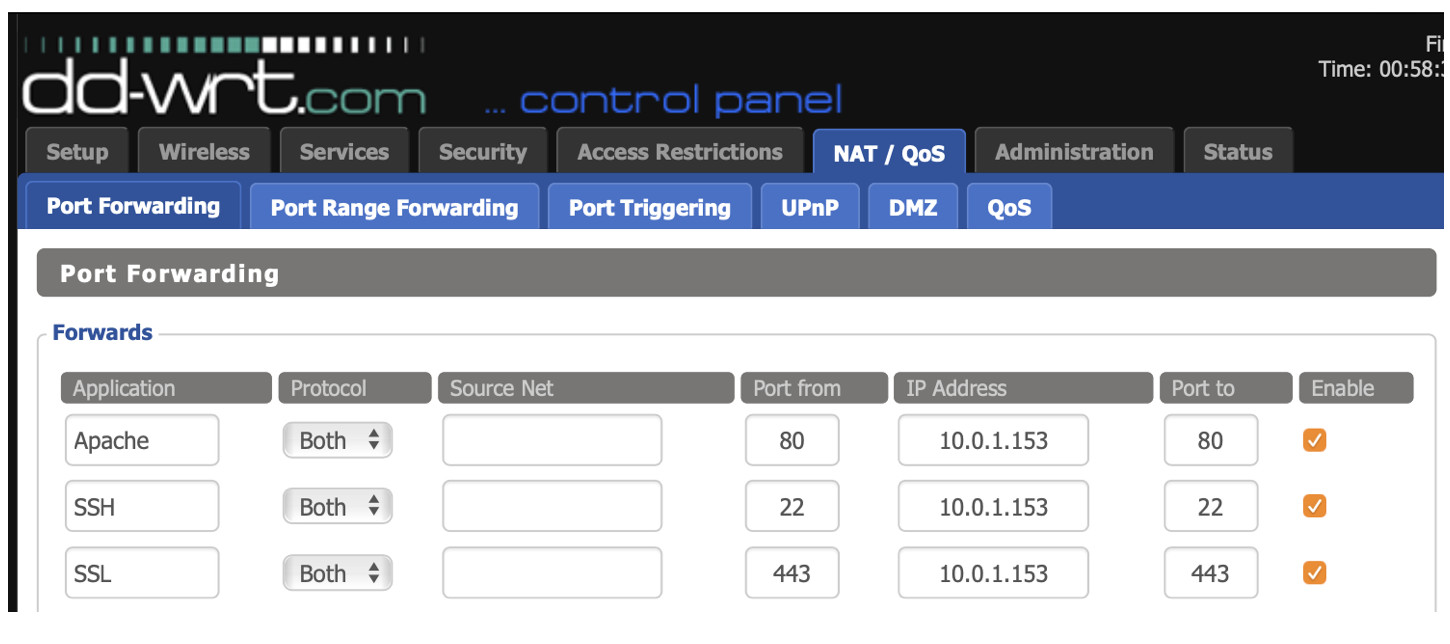
Forward port 80, 22, and 443 to your Raspberry Pi IP address we set earlier.
The example shows dd-wrt, in a dd-wrt setup you would log-in, click on NAT / QoS, Click the port forwarding tab, fill in the information, check them to enable them, save and apply.
Check https://portforward.com/router.htm for procedures for your specific router.
Setup the Raspberry Pi
Log into the Raspberry Pi.
Username: pi
Password: raspberry
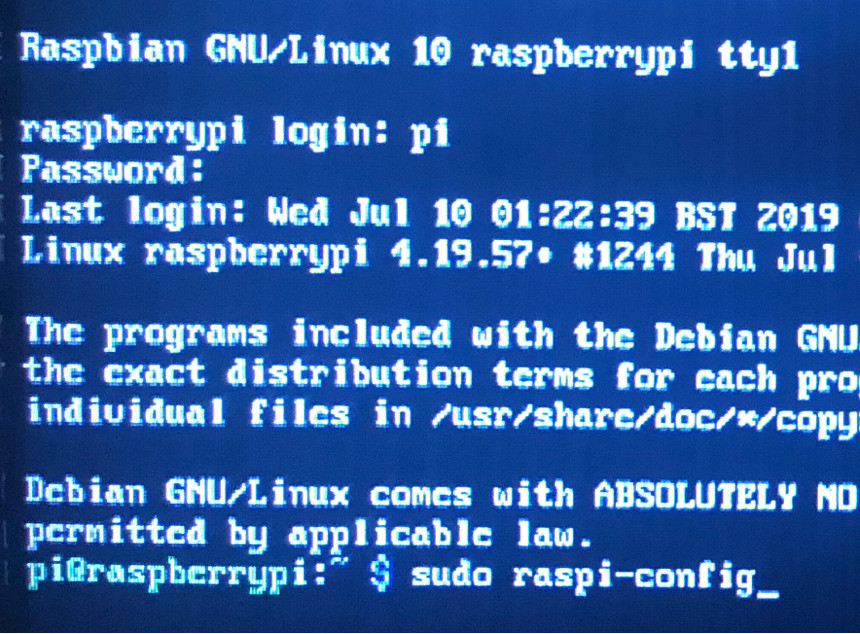
At the $ prompt, type in sudo raspi-config
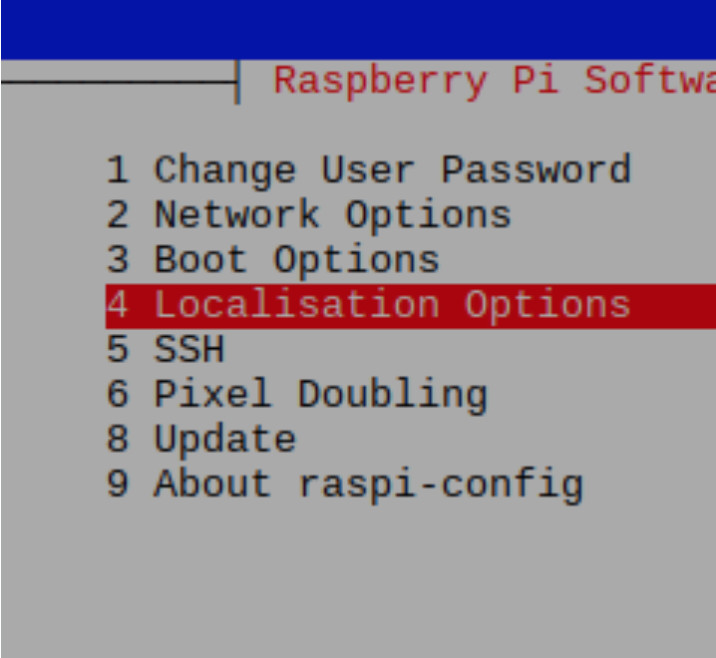
Go to localization options and set up your Keyboard Region and type
Select network options
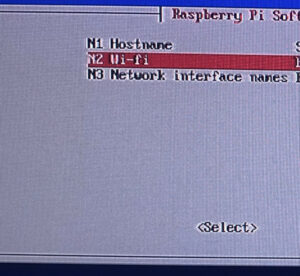
Select WiFi
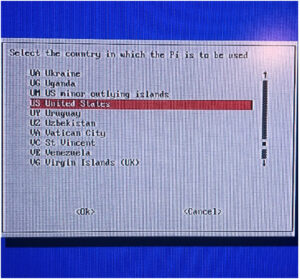
Select your WiFi region
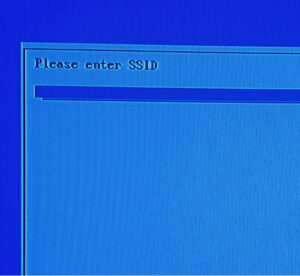
Type in the name of your WiFi Access-point.

Type in your WiFi Network password.
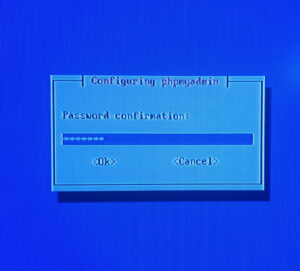
Confirm your password
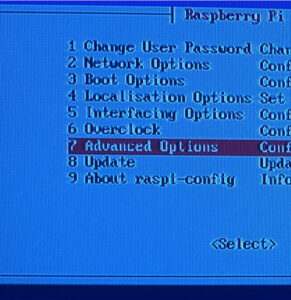
Select Advanced Options
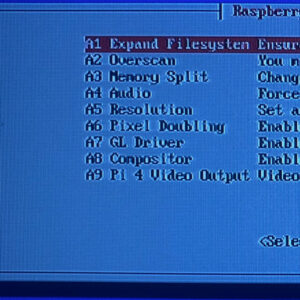
Select Expand Filesystem Filesystem
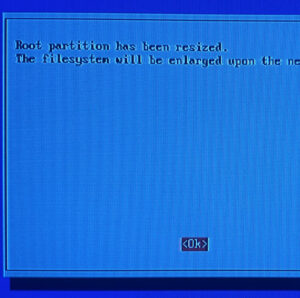
Press Enter
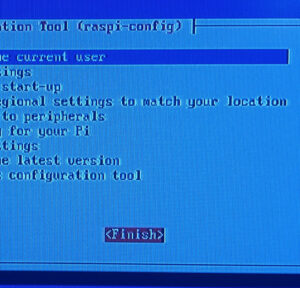
Select Finish

Press enter to reboot
Step 5
Configuring and running the Mobilize My Business Server setup script
Log into the Raspberry Pi.
Username: pi
Password: raspberry

At the $ prompt type in: wget https://www.mobilizemybusiness.com/repo/mobilize.sh
Once that finishes type in “sh mobilize.sh” and press enter
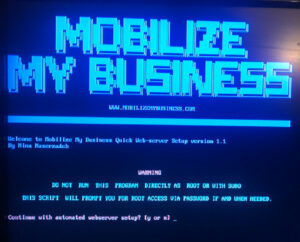
Type in y and press enter.
A series of messages will scroll. Wait patiently until you are asked the various questions required for the setup process.

Create a password for the root MariaDB user and press enter.
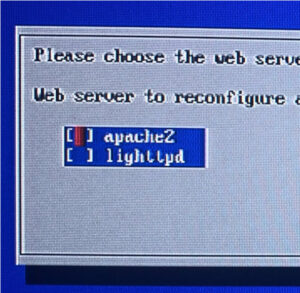
Select apache2
by pressing space bar and pressing enter.
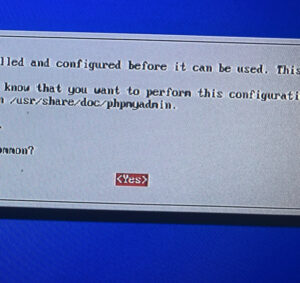
Select Yes
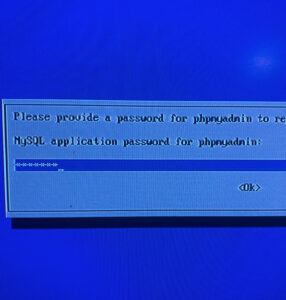
Create a phpMyAdmin application password.
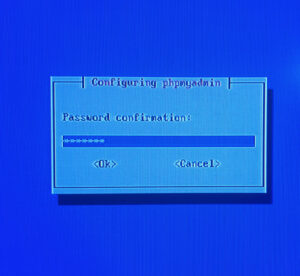
Confirm your password
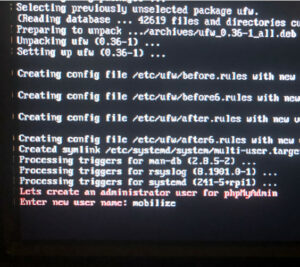
Pick a name for the administrator user of phpMyAdmin.
(Do not reuse this name later in the process)
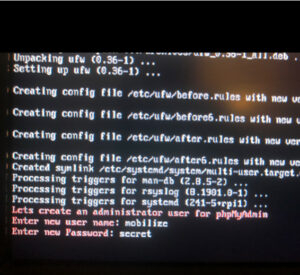
Create a password

Type in Y and press enter

Type in Y and press enter.
Type in wordpress for the database and press enter.
Type in wordpress for the user name and press enter.
Create a password and press enter.
Step 7
Get your free CloudFlair Account


Click on sign up
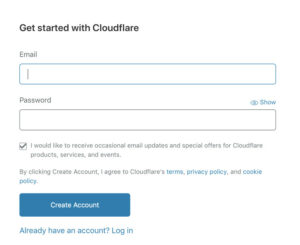
Type in your email and choose a password
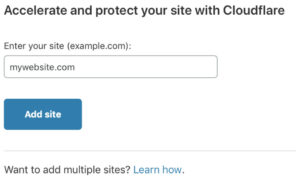
Type in the name of the domain you purchased.

Select the free plan and click on confirm plan.
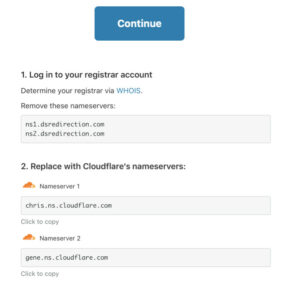
Don not change any DNS settings
Simply click continue
Write down the name servers that cloud flair wants you to use.

In the top right click the person icon and click on My Profile
Click on API Tokens
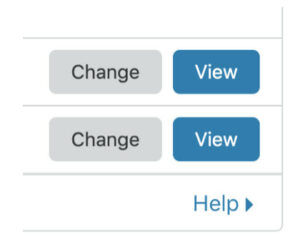
Click on the view option of the Global API Key.
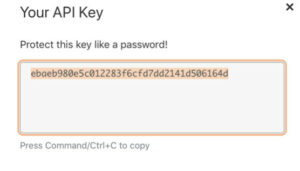
Click on the view option of the Global API Key.
Log back in to your Mobilize My Business account, ignore any advertisements telling you you need a hosting package.
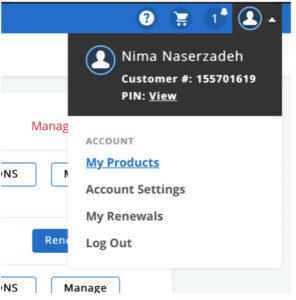
Click on the person icon on the top right.
Click on My Products.
You should see the domain you purchased in the list here.

Click on DNS and scroll down to the section called Name Servers
Ignore any advertisements telling you you need to purchase a hosting package. Click on Change.

Click on Change settings and paste in the name servers CloudFlair wants us to use.
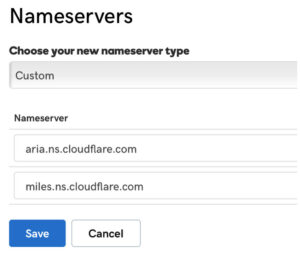
Change the type to custom and enter the servers given to you by CloudFlair earlier.
Click Save
Reboot the system
Step 8
Using the CloudFlare API Key
Log into the Raspberry Pi
Type in nano ~/mobilize/cfupdater/cfupdater.sh

Change the placeholder information in the quotes with the relevant information we wrote down earlier.
auth_email=“Your email address"
auth_key=“The Glogal API key we got from CloudFlare”
zone_name=“Your .com name without the www”
record_name=“Your .com name without the www”
Press Ctrl+X
Type Y for yes
type in sh ~/mobilize/flush.sh
Note
Do not use precede the domain name with home. or www.
Only use the name.com format.
Wait a few minutes then log back in to CloudFlare
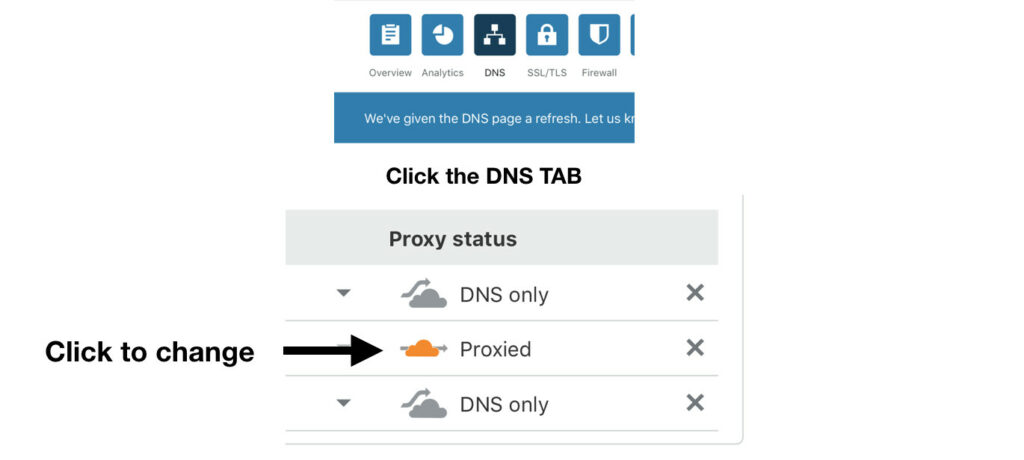
Make sure it says DNS only not Proxy. If you see Proxy click on it to change it to DNS only.
Log into the Raspberry Pi
Type in sh ~/mobilize/certify.sh

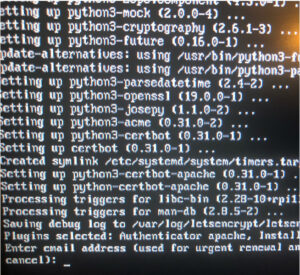
Enter an email address
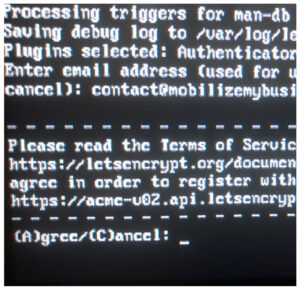
Select Agree and press Enter
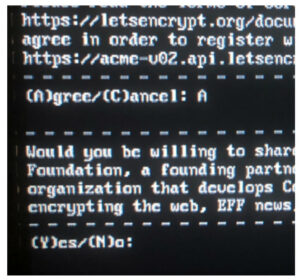
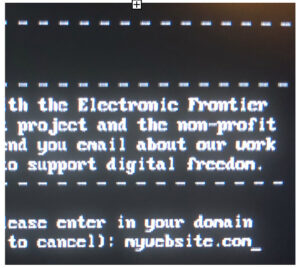
Choose whether or not to share your email with the EFF.
Type in your domain name.
(The domain name you bought)
Thats it, after a few minutes, the DNS entries should propagate though-out the internet, Your WordPress website, hosted on your very own Raspberry Pi is now accessible from your own a .com .net .org name!
Visit your site
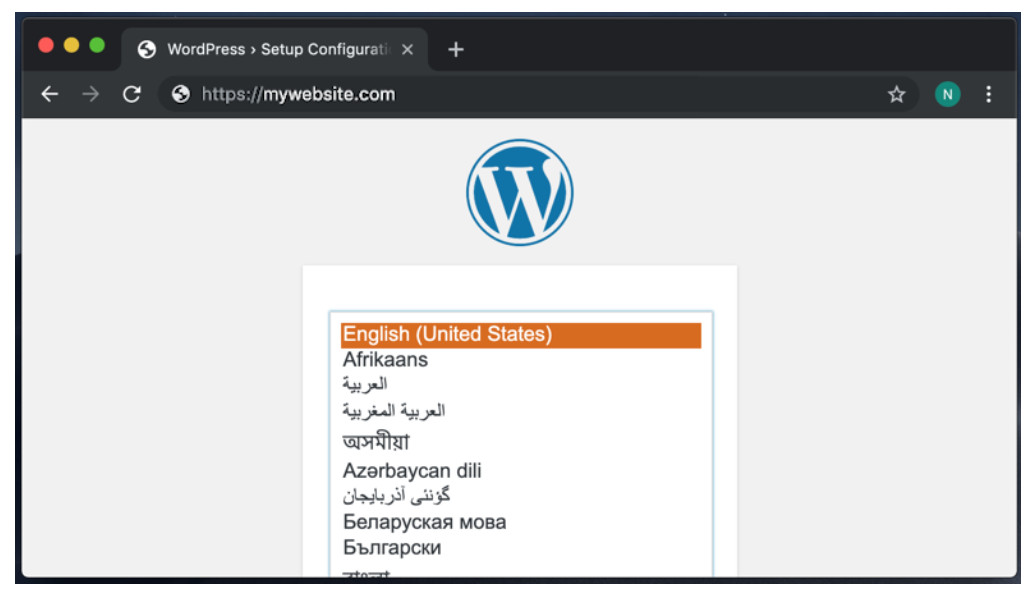
Select your language and click next
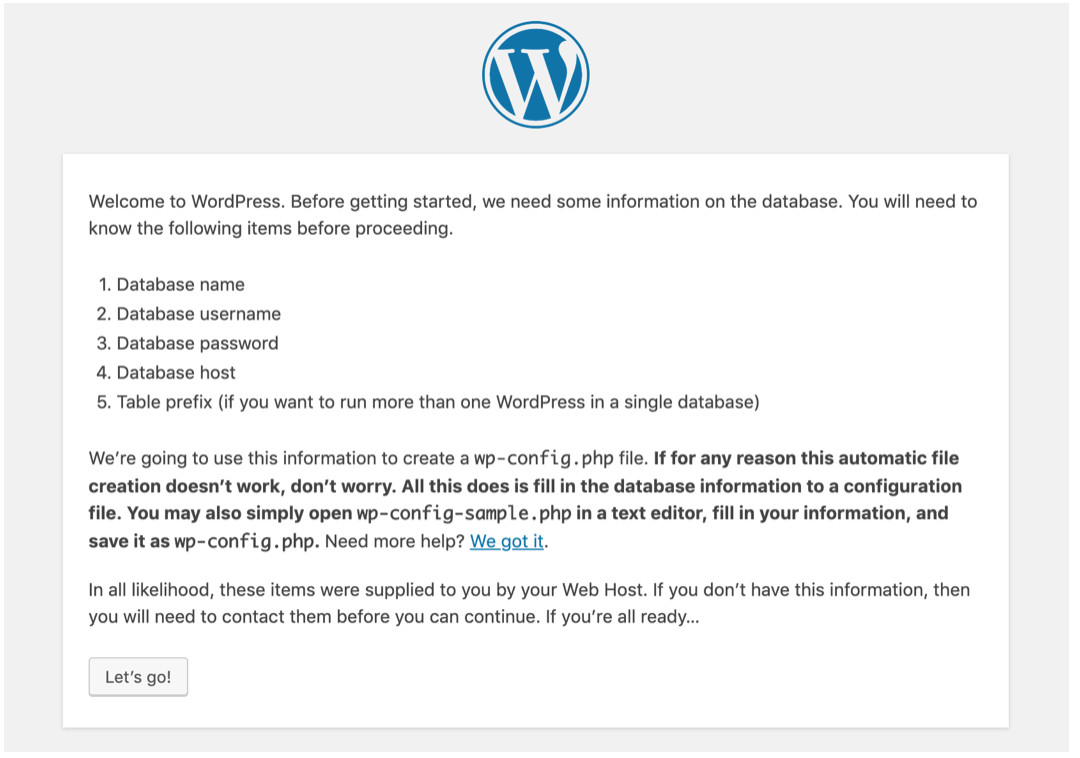
Click Let’s Go!
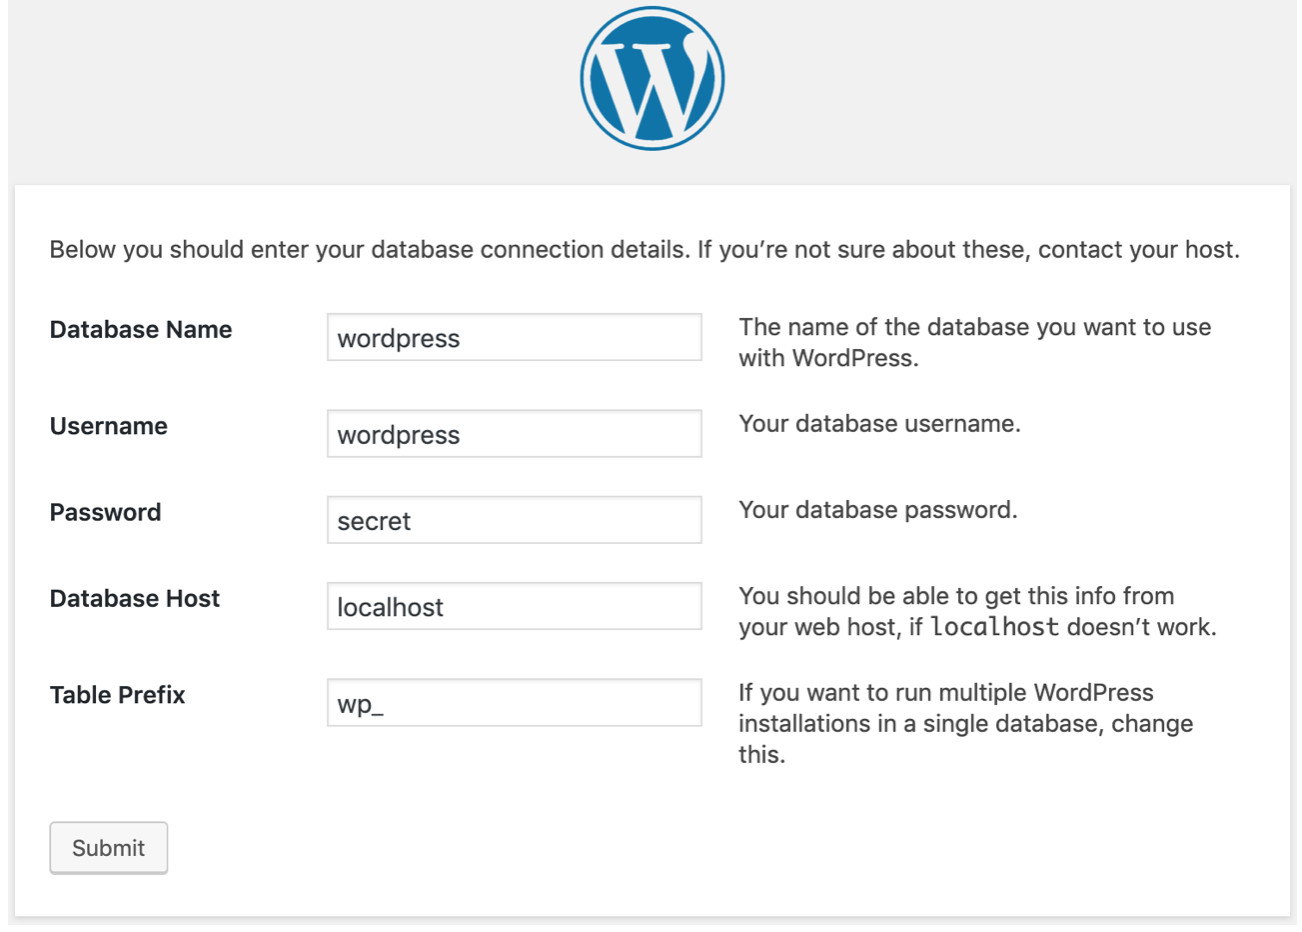
Fill in:
Database name: wordpress
Username: wordpress
Password: What ever you made up earlier for the WordPress database
Click Submit
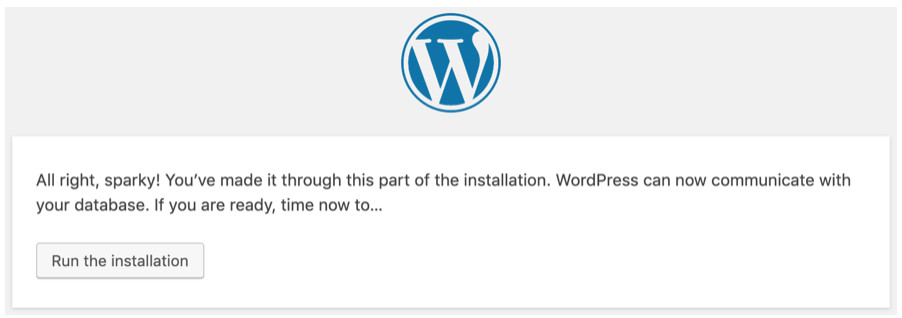
Click Run the installation
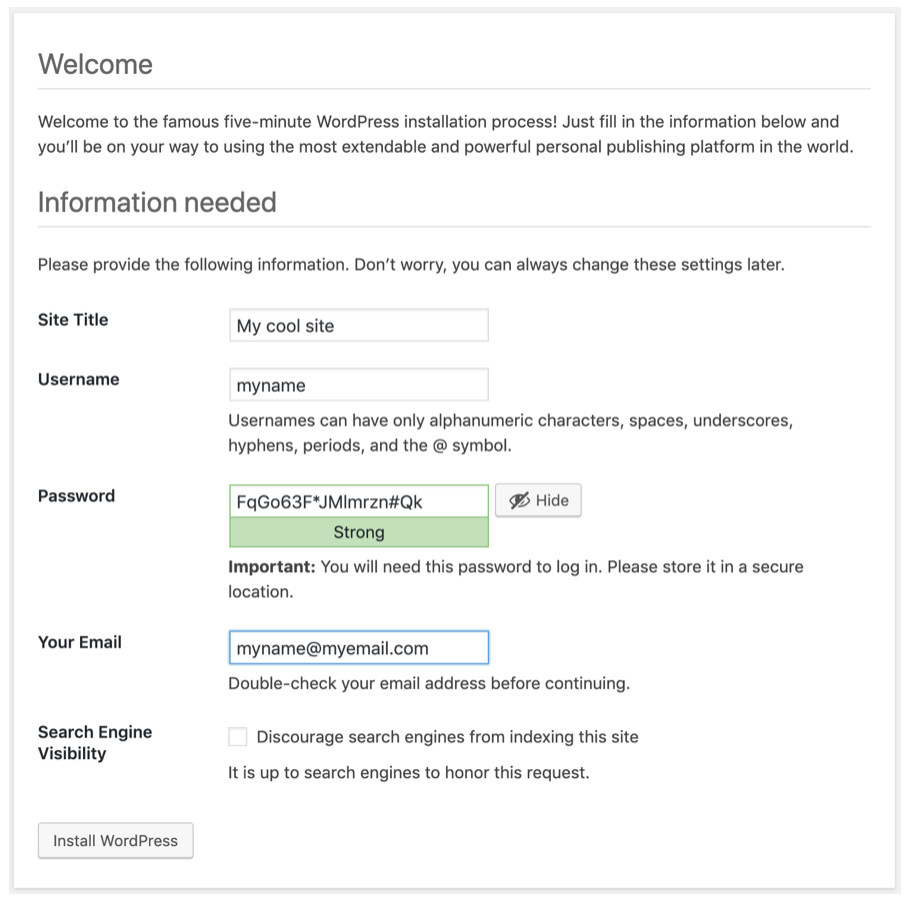
Fill in the information as you wish and create a WordPress administrator user and password.
Click install WordPress
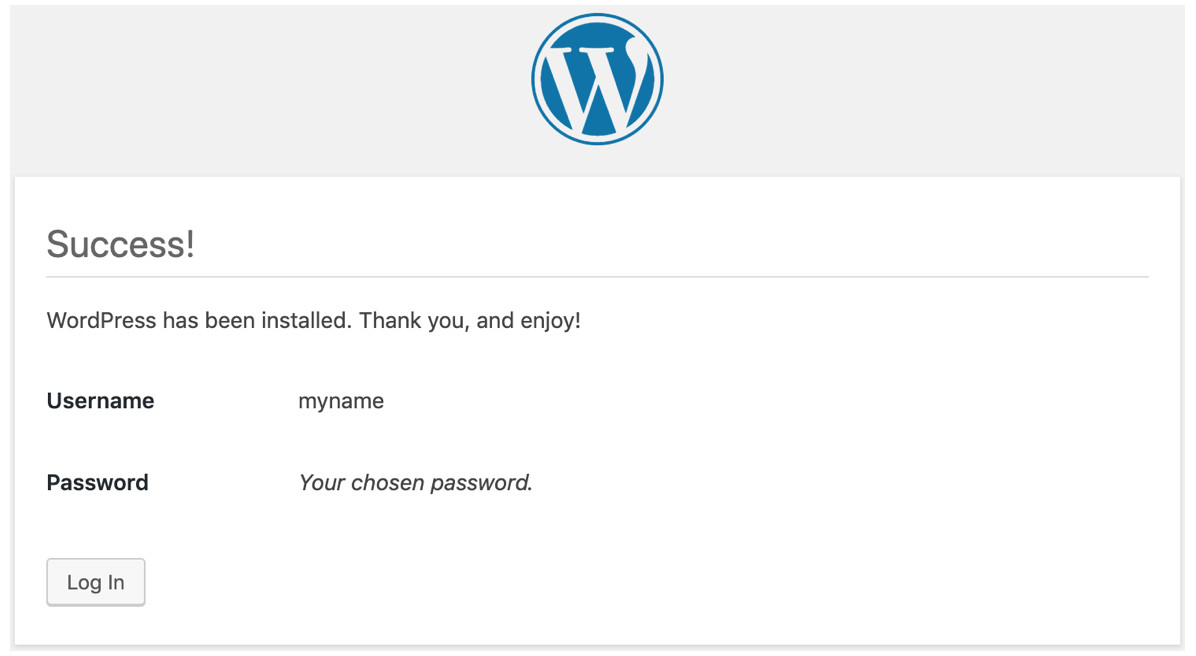
Click Log In
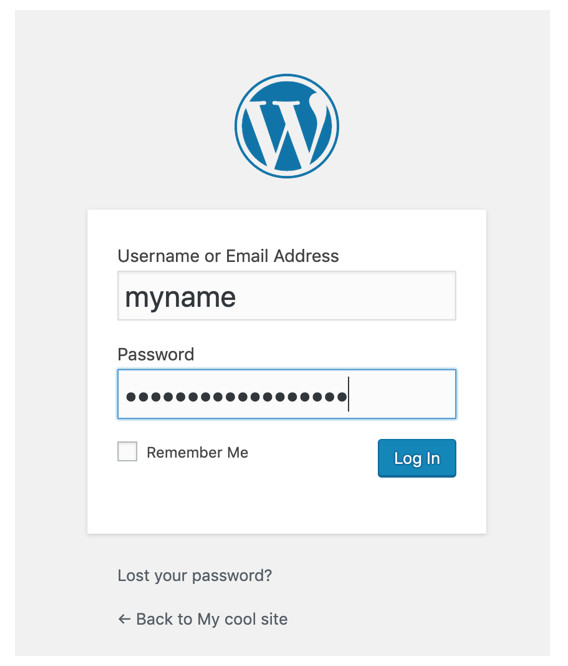
Log in and enjoy fully functioning WordPress
Enjoy your fully functional WordPress Website
WordPress is the number one product sold by shared hosting companies.
By learning to set up your own server to host a WordPress Site, you are learning every essential skill in running your own web-server.
This is also goes to show the hosting companies how shameful it is to have support staff that is not even certified, when many of their customers are capable of running their own servicer via a DIY web-server.
I guess if you ever wanted complete control over your own server you could always get a backup internet connection and UPS and host your site from the house, school or the office.
Enjoy
Nima